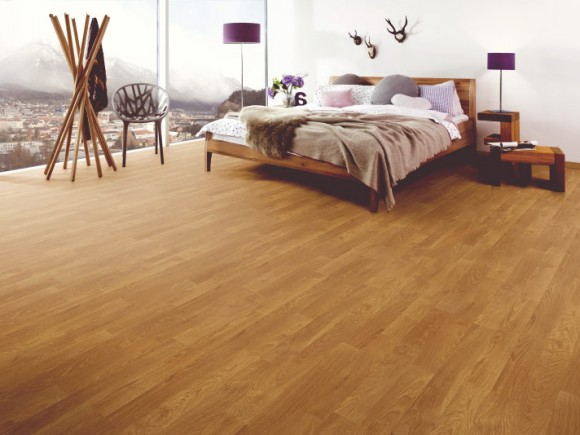
We have this thing with floors. Concrete floors, floors with pattern, wooden floors, floors of mirror shards (yes, really) … we all find them beautiful. And although we are already a fan of unprocessed wooden floors, we also find it secretly beautiful when these are painted. For example in serene white, as we see a lot of Scandinavian interiors. Or in the contrasting color black. Are you going to paint your wooden floor yourself? Then checkout our tips for to paint your floor perfectly!
In this article, we give you the ultimate step-by-step plan for painting a wooden floor. Have you chosen the color? Then you can start. Would you rather get some inspiration first? In this article, we give you some nice examples of brightly colored floors.

STEP 1: Preparation
This sounds obvious but is really necessary: ??make sure that the space on the floor you are going to paint is completely empty. Think for example of the curtains. Although you may think that you can hang it in a knot, it is wise to take them away. Ensure as few obstacles as possible to prevent items that let you stand or hang or become damaged during a later step. Vacuum the floor (including the small corners) thoroughly and cover it with a mop. Save any loose nails in the wood.
STEP 2: Sanding
Time to sand the clean floor! Use a parquet sander for this and keep in mind the condition of the floor. If, for example, the underlay is still in good condition, you can sand the floor with less coarse sandpaper. But if the whole floor has to be made bare, it is less convenient. Start coarsely and then finish the floor finer. Always rub with the wood grain. Ready for sanding? Vacuum the room thoroughly again.
STEP 3: Degrease
After you have sanded the floor and made it dust-free again, it is time to degrease the shelves. Treat the entire floor with degreaser and let the floor dry thoroughly. Since this is often rather aggressive stuff, it is important to ventilate the room well in the meantime and to walk as little as possible on the floor.

STEP 4: Primer
After cleaning and degreasing put the floor in the primer. Please think carefully about what you want. Choose a white primer for light colors and a gray primer for dark colors. Apply generously to the primer in the direction of the wood grain. You can paint the edges with a brush. First, remove the brush over a coarse piece of sandpaper to remove any loose hairs. Treat the larger surfaces with a parquet paint roller. Paint a number of boards (three to four) side by side until they are completely finished. Then paint the next few boards until the entire floor is finished. Allow the primer to dry well before painting. This takes about five hours.
STEP 5: Painting the floor
Time for color! Are there hairs in the base layer? Then smooth the floor again. If you wait longer than twenty-four hours to paint, you should lightly sand the floor again. Stir the paint well and keep the same method when painting as in step 3. Allow the first coat to dry well (again about five hours) and then apply a second coat for a long-lasting and wear-resistant result.
STEP 6: After dying
Did you apply tape anywhere? Remove this if the paint is still wet. In this way you prevent the paint layer from being damaged, glue residues remain behind or the tape tears. Paint needs a lot of time to harden well. After about 24 hours you can walk over the painted floor with socks. The lacquer layer is well cured after a week. At that moment you can put all furniture back in the room. Et voila! It takes some time, but then you have something too!


Telephone No.(704) 769-2132

